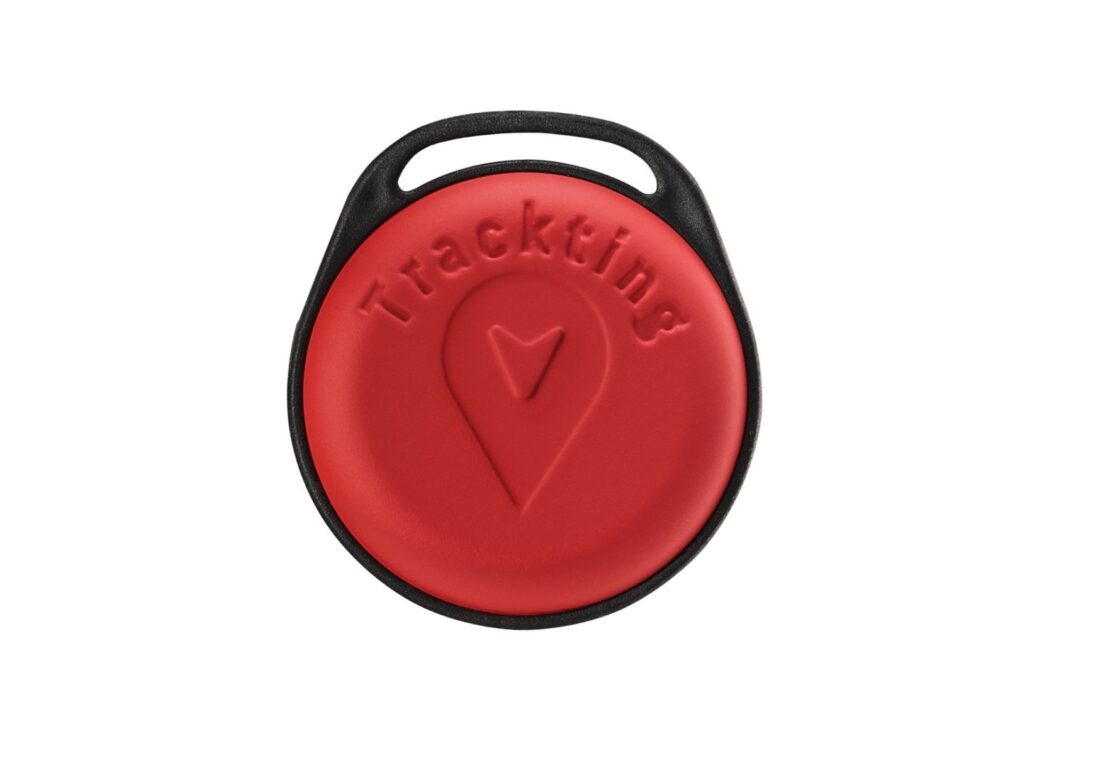
How to pair or unpair a Tag
If you have got Trackting SMART V.2 (see here below), you can add or remove a Tag to your Tracker by yourself.
Here’s how to add/remove a Tag
Set the open Tag on a table by unscrewing the shell.
Set the Tracker to ‘Service’ mode: to do this, you have to open the Trackting App, then access it by clicking directly on the ‘Vehicle’ tab of the desired Tracker V2, at the bottom of the map screen, or by clicking on Vehicle List (icon at the top with the three horizontal lines) -> Device Detail and then click on ‘Associate a Tag’.
Now follow the instructions that the App will give you:
1. set the Tracker in charge with its USB cable
2. the LED flashes red once per second
3. wait until the flash becomes double (like a heartbeat)
4. tap the device repeatedly until the red and green LEDs flash alternately
5. in the App select “Ok” on the upper right.
HOW TO ADD A NEW TAG (PAIRING)
Inside the Tag, click on the button for 3 seconds until you see the still green LED, then leave it. In the Tag the green LED starts flashing. Now the App tells you that the pairing process has begun: select “Ok” in the dialog window.
Once done, you will see the green LED still for 5 seconds, then the App will confirm that the Tag has been paired correctly.
Now you can exit the App selecting “Close”.
If the green and red LEDs flash alternately, repeat the process.
HOW TO REMOVE A TAG (UNPAIRING)
Inside the Tag, click on the button for at least 10 seconds, until you see the red an green LEDs flash alternately, then leave it.
In the Tag the red LED goes on flashing. Now the App tells you that the unpairing process has begun: select “Ok” in the dialog window.
Once done, you’ll see the green LED still for 5 seconds, then the App will confirm that the Tag has been removed correctly.
Now you can exit the App selecting “Close”.
If the green and red LEDs flash alternately, repeat the process.
